Lobby signs have a special talent for going wrong, because they sit at the intersection of three groups who rarely share an email thread: the brand team that owns the logo, the facilities team that owns the wall, and the project manager who owns the opening date. Every mistake below is one we see from real, competent people — and every fix is short enough to paste into the thread that prevents it.
1. Sizing the sign from the logo file
The logo looks enormous in the design file and modest on a forty-foot lobby wall. The fix: the painter’s-tape test. Mock the sign’s footprint on the actual wall in tape, walk to the entrance, and photograph it from where a visitor first sees it. Five minutes, and it settles size, height and placement better than any rendering — before anything is quoted.
2. Sending a screenshot of the logo
A PNG pulled from the website is a picture of the logo, not the logo. Fabrication-ready artwork is vector — AI, EPS or SVG from the brand team — because cutting paths and print layers are built from curves, not pixels. Raster art means a redraw step: someone re-traces your logo, you approve the tracing, and the schedule carries both. The fix: one email to whoever guards the brand assets, before the RFQ goes out.
3. “Match our brand blue”
Matched to what? A phone photo of a business card and the brand guide’s actual color specification are different universes. The fix: supply the brand guide. Color work is done as color-managed CMYK printing matched to your brand references and locked by an approved proof — your job is supplying the reference, the shop’s job is the match and the proof. The proof step is not bureaucracy; it’s the moment the color conversation ends.
4. Ignoring the wall until install day
Drywall, glass, masonry, a partition system with nothing to anchor into — each changes the hardware, and sometimes the design. A heavy sign wants blocking behind drywall; a glass wall wants standoff-style solutions designed for it from the start. The fix: answer the wall question in the first email — what is it made of, and what’s behind it? If the honest answer is “no idea,” say that; it’s a solvable problem early and an install-day crisis late.
5. Specifying illumination without a power plan
We build edge-lit signs and integrate LED lighting into signage — and every lit sign is also a small electrical project: a driver that lives somewhere, power that arrives somehow, and a switch or circuit someone controls. The sign can be ready while the wall has no outlet behind it. The fix: loop facilities in when illumination enters the conversation, not after the sign ships. “Where does power come from?” is a question for week one; the fabrication side of lit work is covered in edge and finish grades for signage and the dimensional letters post.
6. Choosing the finish from a photo
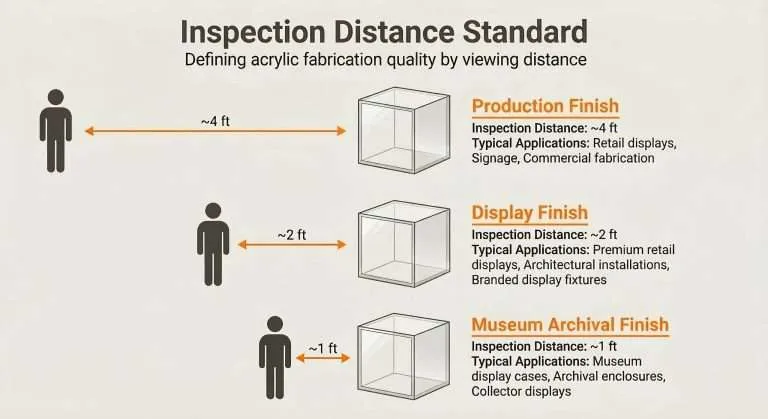
Gloss, frost and matte are lighting-dependent: the frosted panel that looked soft and expensive in the portfolio photo was shot in a studio, and your lobby has downlights and a west-facing glass wall. The fix: make material and finish decisions on physical samples held under the lobby’s actual lighting, not on a screen. For edges that show — and on a standoff-mounted panel, every edge shows — name the finish from the Edge Finishing Standards rather than writing “polished.”
7. Setting the install date on opening day
The office opens on the 1st, so the sign installs on the 1st — alongside the furniture, the network cutover, and everything else that slipped. The fix: back-plan. Install before the opening, proof cycles before fabrication, artwork before the proof, and slack where humans approve things, because approval is where schedules actually die. If the opening date is genuinely fixed, that’s what Reserved Production exists for: it’s priced on the quote and means buying dedicated capacity for a guaranteed manufacturing completion date — the one tier that guarantees one — when the schedule can support it. The install window after shipping is still yours to plan. A fixed opening deserves that conversation, not optimism.
The thread that goes right
The lobby sign projects that land smoothly all look alike: tape on the wall, vector art in hand, the brand guide attached, the wall question answered, power planned, finishes chosen on samples, and a date with slack in it. That’s the whole checklist — the full specification walk is in the lobby sign spec guide, the bigger signage picture in the signage guide. Starting a sign project this quarter? Send the tape-test photo with your RFQ — it answers the sizing conversation before it starts.