Acrylic shows up in buildings constantly and almost never under its own name. It is the back-painted feature wall in the lobby, the frost-gradient partition between workstations, the guardrail infill on the mezzanine, the diffuser that makes a ceiling glow evenly, the formed reception desk face that millwork couldn’t have produced. Architects and interior designers specify these elements all the time — but usually through a product catalog or a millworker’s sub-quote, without the vocabulary that would let an acrylic element be specified as rigorously as a glazing assembly.
This guide is that vocabulary, plus the workflow. It maps the fabricated-element families, walks the design-intent-to-install process the way project teams actually run it, and translates the Acrylic Fabrication Standards Framework into spec-section language — because a fabricated element with defined finish grades, tolerance ranges, and edge methods is an element a contractor can bid, a fabricator can build, and a punch list can verify.
The element families
Partitions and dividers
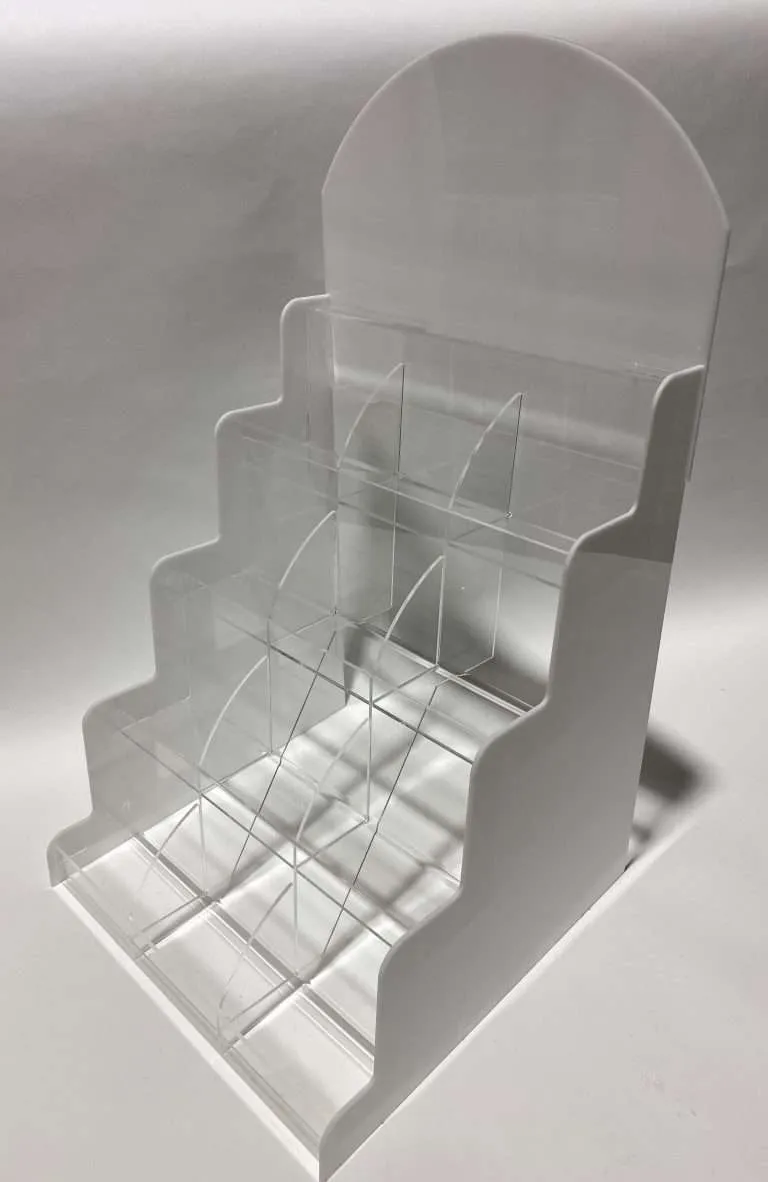
Freestanding and mounted panels dividing space while keeping light and sightlines: office dividers, healthcare and service-counter separations, room-scale screens. Design variables are thickness for span and rigidity, edge treatment where edges are exposed, mounting hardware, and surface treatment — clear, frosted, printed, or a gradient. The fabrication questions are almost entirely about the connection details, which is exactly where early fabricator input earns its keep.
Back-painted, printed, and frosted wall panels
Acrylic as a finished surface: back-painted color panels as a glass-look alternative, direct-printed graphics and environmental branding, frost treatments for privacy and light diffusion. Second-surface work — printing or painting the back face so the image reads through the material with depth and stays protected from touch — is the technique that separates a fabricated wall panel from a decorated sheet.
Railing and guardrail infill
Clear and tinted infill panels in metal railing systems, where the acrylic supplies the barrier and the transparency while the frame supplies the structure. These panels are captured components in someone else’s system, so the spec lives in the interface: panel dimensions and tolerances against the frame’s reveals, edge finish appropriate to captured versus exposed edges, and clearances that respect thermal movement. Code-side requirements — guard loading, glazing-equivalence rules where they apply — are the design team’s determination, with the fabricator building to the resulting spec.
Light diffusers and custom fixture components
Where acrylic has no real rival: even light diffusion at low weight, formable into shapes glass never could, in whites and frosts engineered for transmission. The family runs from flat lens panels in architectural coves to formed shades and custom luminaire components produced with the lighting designer. The working spec questions are optical — transmission versus hiding the source — plus heat clearance from the fixture manufacturer’s data.
Thermoformed feature elements
The signature category: curved canopy elements, radiused counter faces, domes and vaults, sculptural forms that arrive in millwork drawings as a hopeful curve. Thermoforming takes tooling, and formed geometry carries its own tolerance behavior — dimensions on formed parts hold to a percentage of the formed dimension rather than a fixed fraction of an inch. Both facts belong in the design conversation early, because they shape what the curve should be, not just what it costs to make.
Reception and millwork-integrated pieces
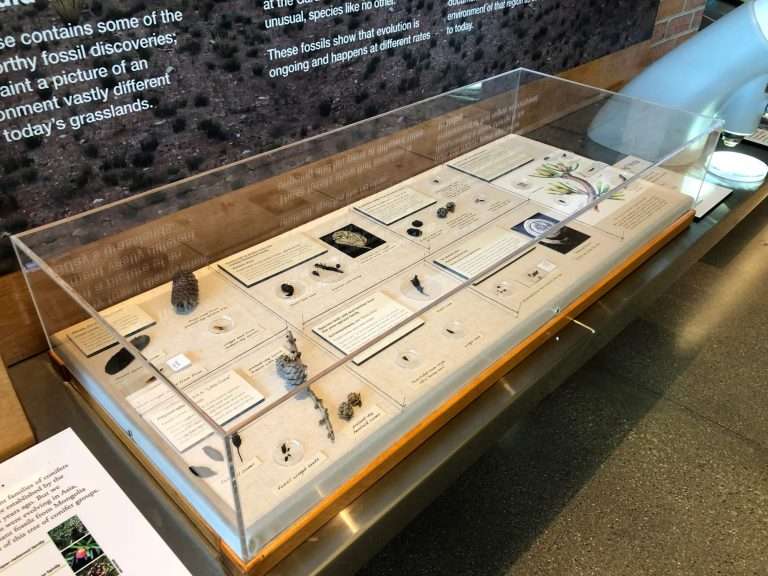
Acrylic elements living inside casework: illuminated desk faces, inset display niches, transaction toppers, logo elements. The coordination question is trade sequencing — what the millworker builds, what the fabricator supplies, and where the joint between the two trades lands. The cleanest projects decide that boundary on the shop drawings, not on site.
Backlit surfaces
Feature walls, bar faces, stair cladding, and counters where acrylic is the luminous surface over an LED field. The fabrication spec carries an optical dimension: material selection and depth-to-source spacing decide whether the surface glows evenly or reads as a row of dots. Lighting layout is built to the lighting designer’s spec — bring that spec to the quote, because the panel and the light field succeed or fail as one assembly.
The workflow: design intent to installed element
Fabricated acrylic slots into the process design teams already run — design intent, technical input, shop drawings, submittal approval, field dimensions, fabrication, delivery. The sequence rewards teams that treat the fabricator as a design-assist trade rather than a bid-stage vendor:
- Design intent. The design drawings state what the element looks like, where it lives, and how it should feel. They do not need to solve construction — that is what the next two steps are for.
- Fabricator input on buildability. The high-leverage moment, cheapest at DD: a bonded corner that wants to be a formed radius, a monolithic panel that needs panelizing before it exceeds sheet size, an edge spec relaxed where the edge is captured. Input at this stage changes the design for the better; the same input at CD is a change order.
- Shop drawings. The fabricator’s construction documents: joints, thicknesses, hardware, mounting, and tolerances per the published ranges. This is where design intent becomes something a shop can hold itself to.
- Submittal approval. The design team confirms the shop drawings deliver the intent. Samples and finish mockups belong here — a physical edge sample settles in seconds what adjectives argue about for weeks.
- Field dimensions. Buildings are not built to the model. Elements that meet constructed conditions — openings, reveals, millwork — release to fabrication against measured dimensions, and the schedule should show that dependency honestly.
- Fabrication, delivery, install coordination. Built to the approved package, delivered against the site’s sequence, with install by the appropriate trade and the interface details already decided on paper.
The Standards Framework, translated for spec sections
The reason an acrylic spec section is usually weaker than a glazing section is not that acrylic lacks measurable properties — it is that most specs never cite any. The Standards Framework supplies the citable criteria:
Finish grades. The Acrylic Quality Standards define Production, Display, and Museum Archival finishes, each anchored to an Inspection Distance. Architectural work maps naturally: general elements viewed across a room carry Production Finish; elements people approach and touch — reception faces, retail-adjacent panels — justify Display Finish. Specifying the grade per element, by how it will actually be viewed, is the difference between “high quality finish” (unenforceable) and an acceptance criterion a punch list can apply.
Tolerance baseline. The Fabrication Tolerances standard publishes typical per-process ranges — cutting, machining, assembly, forming. Citing it in the spec section gives shop drawings a dimensional baseline that already matches manufacturing reality, and it flags early the places where the design needs a tighter number than the process default, so that conversation happens at submittal rather than at rejection.
Edge methods by name. The Edge Finishing Standards define six methods from raw-cut to diamond-polished. An exposed partition edge, a captured infill edge, and a polished feature edge should carry three different callouts — naming the method per edge condition buys visible quality exactly where it is visible.
Joint quality. For bonded feature elements — seamed panels, built-up forms — the framework’s Joint Clarity standard supplies the vocabulary: joint appearance specified alongside finish grade, in measurable terms agreed at submittal. Bonded acrylic joints range from structural-but-visible to effectively invisible, and the grade of joint is a real cost and schedule input; deciding it consciously per element beats discovering the expectation at the punch list.
Material honesty for buildings
Acrylic earns its architectural place on real properties: dramatically lighter than glass at equal thickness, which changes mounting hardware and install crews; formable into geometry glass cannot approach; edge-workable to a full polish; and available in a color, frost, and print range that makes it a finished surface rather than just a clear one.
Respect its limits with equal directness. In touch zones its surface behavior differs from glass — it will show wear differently, and cleaning practice matters; high-abuse touch surfaces deserve that consideration at material selection. Long runs move with temperature, so generous holes, slotted connections, and reveal details that absorb movement are design requirements, not fabricator conservatism. And where code raises flammability and material-performance questions, the answers come from the sheet manufacturer’s published documentation for the specified product — the design team makes the code determination against that documentation, never against a fabricator’s marketing claim.
Mixed-material reality
Almost no architectural acrylic element arrives alone. Panels land in steel frames, infill sits in railing systems, illuminated faces integrate into millwork, standoffs and cleats and channels do the mounting. Metal, wood, and hardware are incorporated as the project requires — and the interfaces are decided on the shop drawings, where edge conditions, fastener locations, and movement clearances get resolved by people rather than discovered by trades on a lift.
Construction-schedule integration
Fabrication lives inside the construction schedule, and two mechanics matter. First, field-dimension dependencies: elements meeting built conditions release only after those conditions exist and are measured, so the sequence — measure, release, fabricate, deliver — has to appear in the schedule as real duration. Second, date certainty: when an element must land against a hard milestone — an opening, a TCO date, a phased turnover — Production Scheduling tiers state honestly what is and isn’t guaranteed, and Reserved Production is the mechanism that holds dedicated capacity against a construction milestone. Only Reserved guarantees the date; on milestone-critical elements, that distinction belongs in the procurement plan, not in the hope column.
If you have an element in design right now — a curve you’re not sure can be formed, a panel that might exceed sheet size, a backlit face that has to glow evenly — bring it to us at DD, when input is cheap and the drawing is still soft. That timing, more than any other decision in this guide, is what separates the projects that install cleanly from the ones that get value-engineered in a panic.