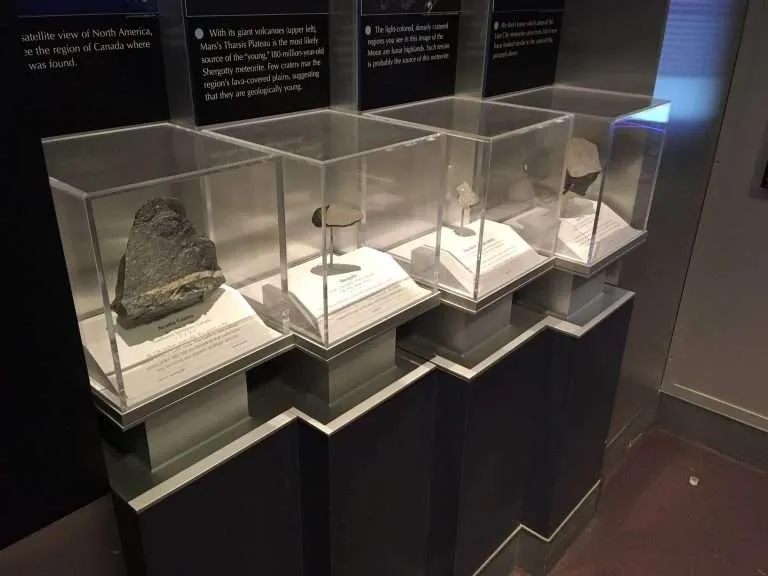
A well-made five-sided vitrine is designed to be invisible — a cover that reads as a single piece of glass-clear material with almost nothing announcing how it was made. That illusion is exactly why buying one is hard: the differences between an excellent vitrine and a mediocre one are decided at specific moments in the fabrication sequence, and by the time the case is on a pedestal, most of those moments have been polished out of view. This post walks the build in order, so a registrar or exhibit designer knows what they are actually buying — and can tell a bonded vitrine from a screwed-together box at a glance.
Step one: cutting to finished dimension
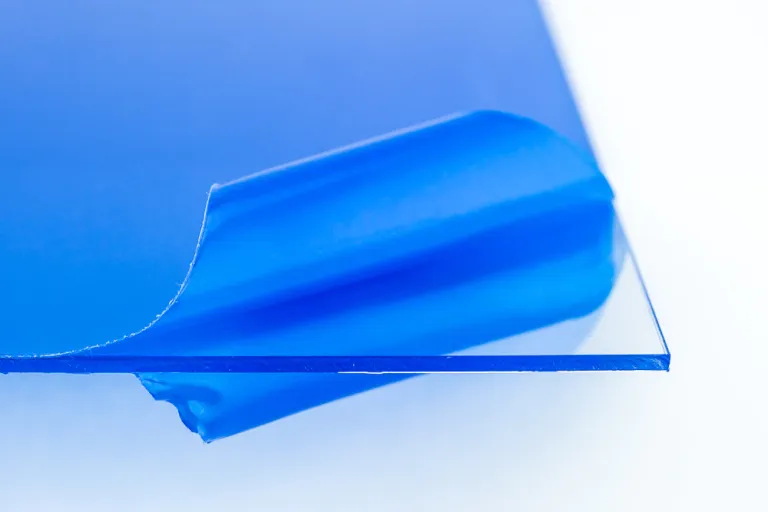
Five panels — four walls and a top — are cut from sheet, most often by CNC routing or saw for casework panels. Two things are settled here that never get unsettled. First, the finished dimensions: cutting works to the ranges in our Fabrication Tolerances standard (CNC-routed components typically hold approximately ±1/32 inch), and because the four wall panels must meet each other at their full length, dimensional consistency between panels matters as much as the accuracy of any one of them. Second, the fit of the future joints: a bonded joint is only as good as the two surfaces that meet, and those surfaces were made by the cutter.
Step two: edge preparation — where the joint is actually decided
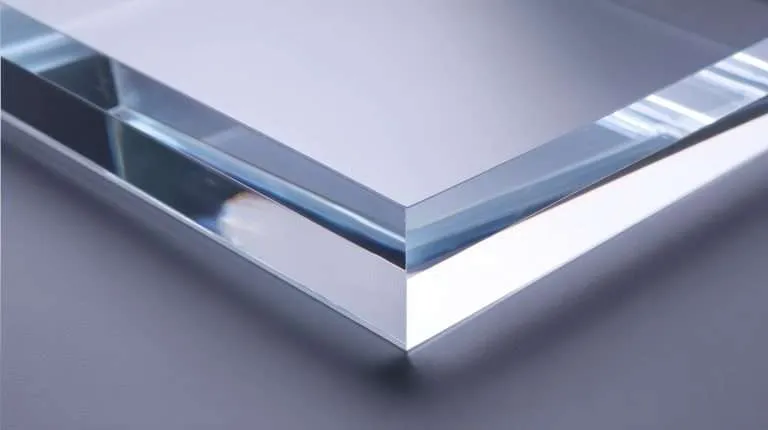
This is the step invisible in the finished case and most decisive in it. Bond-line quality is determined before any adhesive appears, at the edge: the mating edges are machined and finished so the two panels meet flat, square, and gap-free along the entire joint. An edge with saw marks, a slight bow, or a rounded arris leaves voids the bonding chemistry must bridge — and thin solvent cement cannot bridge them, which is where bubbles and starved lines in cheap vitrines come from. Meanwhile the edges that will remain visible — the top perimeter, any open bottom reveal — are prepared for their specified finish from the six-method edge finishing ladder, up to diamond-polished where the edge is a viewing feature, which on museum work it usually is.
Step three: bonding — capillary solvent vs two-part adhesive
The four vertical joints are what make a vitrine a vitrine, and there are two fundamentally different ways to make them:
- Capillary solvent bonding. The panels are fixtured in their final geometry with the joint faces in close, even contact, and a water-thin solvent cement is wicked into the joint by capillary action. The solvent briefly dissolves both surfaces, which then fuse as it flashes off — the joint is acrylic welded to acrylic, with almost no material added. When the fit from step two is right, this is the method capable of the clearest results on display work: the least visible thing a joint can be.
- Two-part adhesive bonding. A polymerizable cement is applied into the joint and cures into a structural layer. It fills small gaps, builds a robust bond on long or thick joints, and is chosen where the joint’s structural demand or geometry argues for it; the trade is a joint that exists as a visible layer and must be executed cleanly to look intentional.
Which method a given vitrine gets is a fabrication decision driven by panel thickness, span, and the specified joint appearance. And that last phrase is the important one for a specifier: the observable result belongs to our Joint Clarity standard, which makes joint appearance a measurable acceptance criterion. Specify the joint clarity level required; let the shop choose the chemistry that delivers it. That is a far stronger position than writing “seamless,” which names no method and no test.
A note on stress: bonding chemistry interacts with stress in the material — machining leaves stress at edges, and stressed acrylic meeting solvent is the recipe for crazing, the network of fine surface fractures that can appear near joints in poorly built cases. Managing that is part of the build (edge preparation again, and thermal stress-relief — annealing — where the work warrants it): one more quality difference that is invisible at delivery and very visible two years later.
Step four: thickness, span, and why big covers get thick
Vitrine walls are self-supporting spans, and the top panel is a horizontal span supported only at its perimeter. As footprint grows, a cover in thin material will visibly bow — under its own weight on top, and optically along the walls. So thickness is selected against the vitrine’s span, and it is normal for a large case to be specified in noticeably thicker material than a tabletop one. We size this at the quote against the case dimensions rather than publishing a one-size rule, because the honest answer depends on geometry — footprint, height, and whether the design carries any internal support.
Thickness has an optical consequence worth knowing before you see the case: acrylic carries a faint tint at its edges, and the effect scales with the thickness of material you are looking through. On a thick-walled case the polished top edge and the corner sightlines carry more of that tint. It is a property of the material, not a defect — but a designer who wants the most colorless possible presentation should raise it at specification, where material options can be discussed, not at delivery.
Step five: corners, and what to ask for by name
The vertical corners are where fabrication quality is easiest for anyone to see, because you look through a corner from an angle at two joints at once. A specifier can ask for corner treatments by name:
- Square bonded corners — one panel’s face meets the other panel’s edge. The standard construction: strong, clean, efficient. Looking along the joint you see the edge of one panel through the face of the other, a sightline that reads as a narrow, slightly darker band at the corner.
- Mitered corners — both panels are beveled and meet at the diagonal. Done well, the corner’s sightline becomes nearly continuous, with material meeting material at the same angle all the way through — the choice for work where the corner itself is on display. The cost factor is real: two long, precise beveled edges per corner, and a joint that is less forgiving of any preparation error.
Step six: final polish and inspection
After bonding, the case is finished as a whole: visible edges brought to their specified method, surfaces cleaned and inspected against the specified grade. Grades come from the Quality Standards and are judged at their defined Inspection Distances — for museum work, typically Museum Archival Finish, inspected at approximately 1 foot, on the surfaces and sightlines a visitor can reach.
The delivery checklist a registrar can reuse
When the case arrives, acceptance should be an inspection against the spec, not an impression. Five checks:
- Joints — examine each bonded joint against the agreed Joint Clarity level: look along the joint, not just at it.
- Corners — sight through each vertical corner at a low angle; this is where voids and bubbles hide.
- Surfaces — inspect at the agreed Inspection Distance for the specified grade. Judging Museum Archival work at 1 foot is the standard; judging any work at 1 inch is not an inspection, it is a misunderstanding of the spec.
- Edges — confirm visible edges carry the specified finish method, consistently along their full length.
- Fit — the case sits flat and square on its deck or base without rocking, and any base engagement fits as drawn.
A vitrine specified in measurable terms — thickness, corner treatment, edge methods, grade per surface, joint clarity per joint — makes every one of those checks objective. That is the real difference between buying casework and hoping for it; when the case list is in front of you, bring the dimensions and we will spec it in exactly those terms.