The most common custom fabrication order from a research building is also the least glamorous: a clear box that goes around an instrument. Labs order them constantly — over balances, microscopes, optical setups, 3D printers, aging electronics that can’t be replaced, and anything with a moving stage near student hands. What makes the category interesting to specify is that “a box around it” describes three genuinely different designs, and the difference is the job the enclosure does. Get the job named first and the rest of the spec falls out of it.
The three jobs an enclosure does
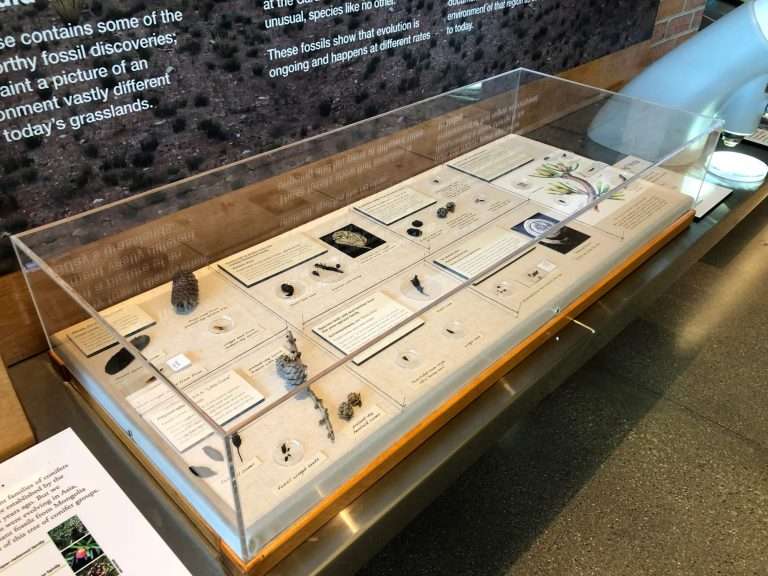
1. Dust protection when idle. The simplest job: keep airborne dust and splash off an instrument that isn’t running. The design that follows is a loose-fitting lift-off cover — generous clearance all around, no ports, no doors, light weight so one person removes it without thinking. Precision fit is actively wrong here: a cover that must be aligned to go on is a cover that ends up on a shelf.
2. Draft and disturbance shielding during operation. The instrument runs inside the enclosure, and the enclosure’s job is stabilizing its local environment — still air for a balance or a sensitive optical measurement, a barrier against hallway drafts and passing bodies. Now fit matters: the enclosure sits close to the instrument’s footprint, access is through designed doors rather than by removing the cover, and every cable gets a dedicated port because “we’ll run it under the edge” defeats the enclosure. This is the design family where dimensioning discipline pays off most.
3. Physical guarding of moving components. The enclosure protects hands from the instrument — a machining stage, a robotic arm, a stirrer in a teaching lab. The design shifts again: fixed mounting rather than a lift-off cover, deliberate decisions about which panels open and which never do, and provisions for interlocks where the lab’s own safety design calls for them — with the interlock logic owned by the institution’s people, and the cutouts and mounting features for it machined precisely into the fabricated part.
Naming the job also settles arguments before they start: a draft shield with a dust cover’s loose fit fails at its job, and a dust cover built to a guard’s fixed-mount spec annoys everyone who touches it. One instrument sometimes genuinely needs two enclosures — a working shield and an idle cover — and that is cheaper than one compromise object doing both jobs badly.
Dimensioning around an instrument: the measurements to take first
The email that starts these projects usually contains a photo and outside dimensions. The email that makes the project go smoothly contains five more things:
- Cable reality. Where cables exit the instrument, and their connector sizes — a port must pass the connector, not the cable — plus bend radius room behind stiff cables. Count the cables that might exist next year, not just today’s.
- Heat. Anything with a power supply makes heat, and a sealed acrylic box keeps it. Ventilation is a design feature — slot patterns, louvered openings, or simple standoff gaps at the base — sized and placed at drawing time, not drilled in the lab later.
- The reach envelope. Which knobs, touchscreens, sample doors and vial positions must stay usable with the enclosure in place, reached from where the operator actually stands. Trace the working session mentally and every needed opening reveals itself.
- The bench context. Bench depth behind the instrument, shelves above (limits lid swing and lift-off height), neighbors beside. An enclosure that fits the instrument but not the bench goes back.
- Service access. The panel a technician needs annually can be removable; deciding it now costs a magnetic catch, deciding it later costs a new enclosure.
Access features, by name
Asking for access features by name gets you a quote that matches your mental picture on the first pass:
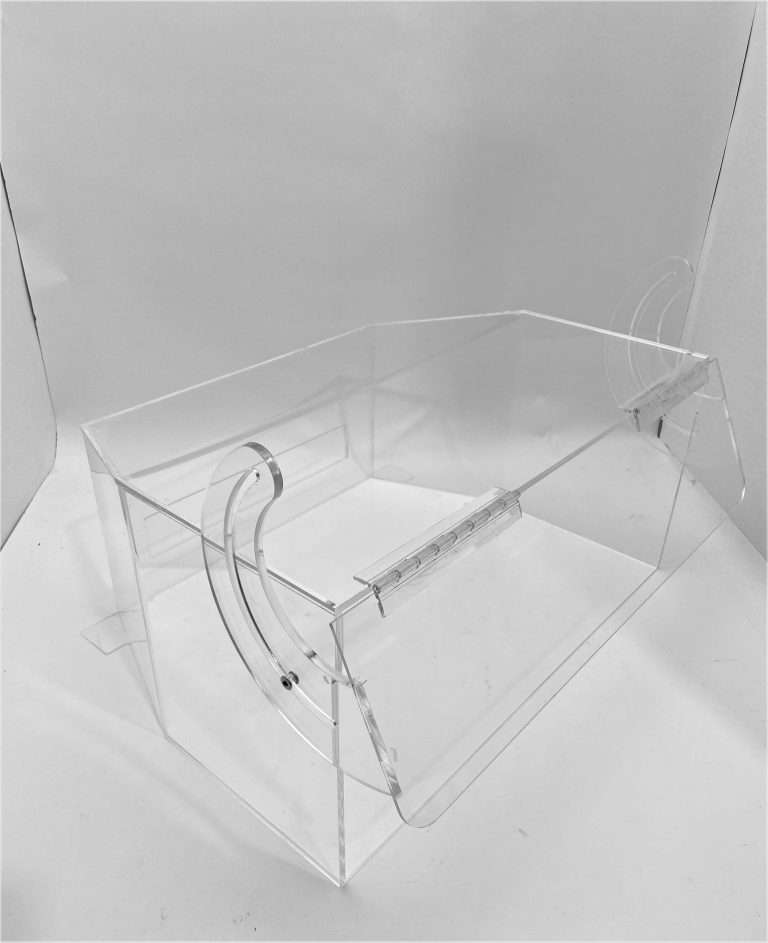
- Hinged doors — continuous acrylic hinges or hardware hinges, front- or top-mounted; the standard answer for routine access. Top-hinged drop doors are the balance-shield classic because they open with a fingertip and close under their own weight.
- Sliding panels in machined tracks — access without swing clearance, right where a hinged door would collide with the neighbor instrument.
- Removable panels on magnetic catches — for occasional access (service, reconfiguration) without hardware in the sightline.
- Glove-port openings — machined circular ports for glove-box-style working enclosures, where hands work inside an enclosed working volume.
- Cable and pass-through ports — machined, positioned per your cable map, optionally with grommets or covers.
Each feature adds fabrication content in a predictable way — a machined track and a fitted sliding panel is more work than a fixed face, and hinges and latches add purchased hardware — so an economical enclosure puts designed access exactly where the reach envelope demands it and plain panels everywhere else. Cost factors, in other words, follow the same logic the design does.
The worked example: a draft shield for an analytical balance
The classic three-sided balance shield with a top drop-door is shaped by its physics. The three fixed faces block the lateral drafts that move milligram readings; the open or doored front preserves the weighing workflow; the top door admits samples from above with minimal air disturbance, closing under its own weight so the shield returns to its stable state without the operator remembering anything. Close dimensional fit to the balance’s footprint matters because the shield’s job is calming the air specifically around the weighing chamber — a shield floating loose on the bench shields the bench. It is a small object that rewards being built like precision equipment, held to real machining tolerances, with bonded joints and finished edges — and it is representative of the whole category: modest scope, real engineering, big daily payoff. Our gallery carries real builds in this family — research enclosures with hinged doors, equipment shields with machined access holes, fitted covers over lab equipment.
Repeatability: the teaching-lab and core-facility angle
The last reason to spec an enclosure carefully is what happens after the first one. A teaching lab with twelve stations wants twelve identical covers; a core facility that standardizes on an instrument model wants the same shield at every install; and every enclosure eventually needs a replacement after a cart clips it. An enclosure drawing on file converts all of that from projects into reorders — same dimensions, same ports, same finish, on request. Fabrication drawings, once made, are an asset the lab keeps. When the instrument on your bench needs its box, send the photo, the dimensions, and the cable map — the drawing comes back for approval before anything is cut.