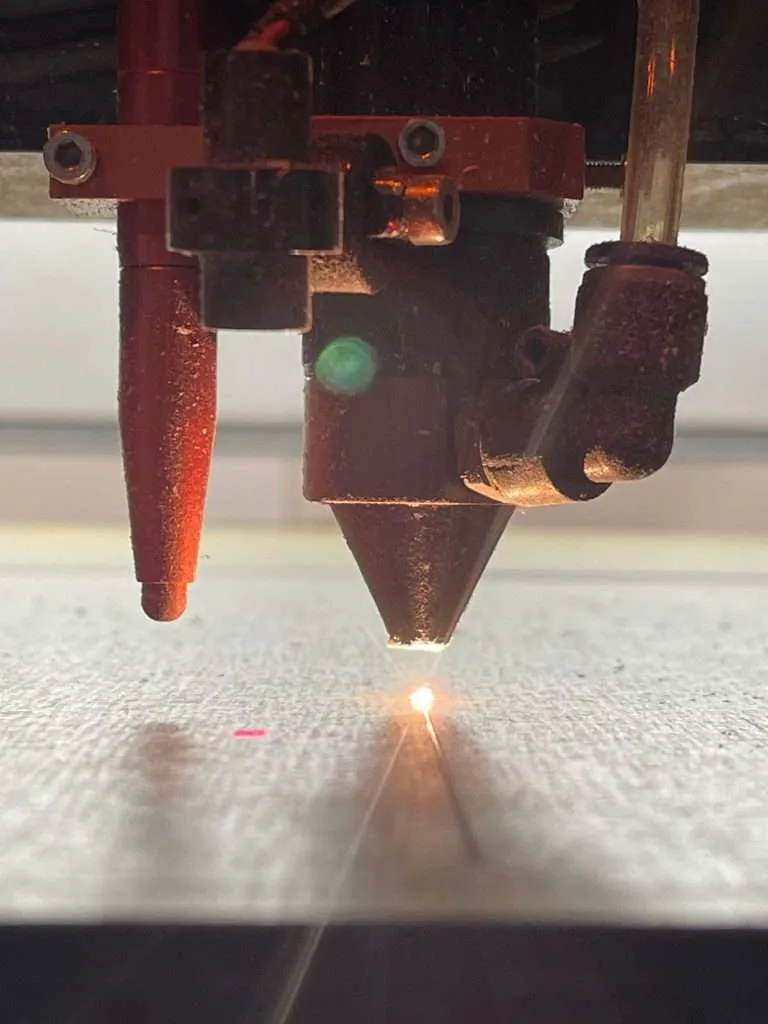
A retail display program is a manufacturing project wearing a marketing brief. Whether it lands on the floor date, survives the store, and looks the same in the last location as it did in the first is decided before anything is cut — by people writing a spec rather than a design. There are five of those decisions, and they come in a fixed order because each constrains the next: display format, sheet material and thickness, branding method, finish grade, and the production tier that governs your date. Work them in that order and the quote that comes back is real. Work them out of order and you spend the program re-quoting it.
Start with the format decision, not a catalog of display types
Format is an output, not an input — it falls out of three physical facts about your product and the store it is going into, and once those are on the table the format picks itself.
Where the load travels
Product weight matters less than where the weight sits and what carries it. In acrylic, load shows up as deflection long before it shows up as failure: a shelf can be structurally sound and still visibly bow under a full load of stock, and the bow is what a shopper registers. Specify the span so the shelf holds its line loaded. The useful question at spec time is not “how heavy is the product” but “how far is the unsupported span, and how is the load distributed across it.” Loaded shelves and gravity-fed trays push you toward thicker stock, shorter spans, bonded gussets, or a formed shelf whose bend geometry carries the load instead of the flat panel. Empty-facing pieces — a graphic header, a literature pocket, a single-product plinth — carry almost nothing and can be specified far more economically.
The footprint you will be granted
Retailers grant footprint, they do not accept it. The dimension that governs your design is the one the category manager or the planogram allows, not the one that would show the product best. Counter space in particular is contested and small; endcap and floor positions come with fixed envelopes and often a requirement that the unit sit inside an existing fixture line. Confirm it before design starts, because footprint is the most expensive thing to change late — it drives part sizes, which drives how many parts nest out of a full sheet, which drives material cost per unit.
Sight-line height
A display has to win a sight-line before it can sell anything. Countertop units are read looking down from close range, exactly the condition that exposes edge quality and bond lines. Floor-standing units and endcaps are read at distance and from an angle, where header and silhouette do the work and a hairline edge imperfection is invisible. Shelf-mounted units are read at whatever height that shelf sits — often below the eye-line entirely, which changes what the graphics have to do. Sight-line is also the input to your finish grade: the quality standard grades surfaces by the distance they are inspected from, so measuring how close a shopper actually gets is the same act as choosing the grade. More on the numbers below.
| Format | Earns its place when | What the spec turns on |
|---|---|---|
| Countertop unit | Impulse purchase at the point of transaction; small, high-margin product; contested counter footprint | Close viewing drives finish grade and edge treatment; stability under handling; a footprint that resists being pushed aside |
| Shelf-mounted / shelf-edge tray | The product already has shelf space and needs to be organized, faced forward, or separated from a competitor | Fit to an existing shelf depth and lip; how the unit anchors; unsupported span under a full load of stock |
| Endcap fixture | A promotion has been granted aisle-end position; the unit has to read from down the aisle and hold real inventory | Header height and graphic legibility at distance; load path through multiple shelves; whether it mounts to the retailer’s existing fixture |
| Floor-standing merchandiser | The program owns floor space outright and the display is doing the merchandising job by itself | Base stability and footprint; shipping and assembly method; whether it ships built or flat-packed for freight economy |
One decision cuts across all four: assembled or knocked down. A built unit presents perfectly and costs more to freight; a knock-down unit ships smaller but moves assembly labor to the store. The joinery differs, so decide it before the design locks. Knock-down joinery also carries a material fact worth knowing early: acrylic sheet is manufactured to a thickness tolerance of approximately ±10% of nominal (the band published in our Fabrication Tolerances), so slot-and-tab joints that a store employee assembles by hand get designed against measured sheet, not the nominal number on the quote — otherwise the same design runs tight from one sheet lot and rattles from the next.
Material is a trade-off, not a ranking
Acrylic is the default for display work for good reasons, and there are real placements where it is the wrong call.
Cast acrylic gives the best optical clarity and the cleanest finished edges — it flame- and diamond-polishes to a glass-like result and lasers to a crisp edge. It is the display-facing material, and the right choice for any surface a shopper reads up close.
Extruded acrylic holds thickness more consistently sheet to sheet and runs more economically at volume. It thermoforms predictably, which makes it the usual choice for formed components and for high-quantity parts where the edge is hidden, bonded, or not doing cosmetic work.
Forming is a material decision as much as a shape one. Heating a sheet and bending it over a tool turns two bonded parts into one continuous part: it removes a joint, stiffens a shelf or tray through the bend geometry rather than through added thickness, and repeats identically across a run once the tool exists. It also commits the program to that tool, so a formed part belongs in the spec before the pilot rather than after.
Polycarbonate is the abuse-heavy choice — for placements where something will be hit, leaned on, or deliberately tested. It absorbs an impact by deforming instead of fracturing, where acrylic stays rigid and eventually cracks, and that ductility is the entire reason to specify it. It is also a softer surface than acrylic, so it scratches easily without a hard coat, it is more prone to yellowing under sustained UV exposure than acrylic, and it costs more per sheet. Specifying it for a display that simply looks good is paying for a property the program will never use.
PETG comes up in the same conversation: it takes abuse and cold-bends without the brittleness acrylic has, and the trade is optical — it does not polish to the same clarity and it marks more readily in a store environment. Where a unit is knocked and reloaded constantly and read from a distance, that trade can be the right one — we fabricate PETG as well, and when it is the better answer for a program, we say so at the spec stage.
Acrylic is our specialty and where our finishing, forming, and bonding processes are strongest; complementary materials — metal, wood, hardware — get incorporated when a build calls for them. This conversation belongs at the spec stage, because material choice changes edge treatment, bonding method, forming behavior, and print behavior at once.
Thickness scales with span and load
There is no single correct thickness for a display format. Thickness is set by how far a panel has to reach unsupported and how much weight travels across it: heavier product and longer spans call for thicker stock, or for a design change — a bend, a gusset, a shorter shelf run — that removes the span instead of thickening the material.
Thickness is also visible. A polished edge on thicker stock reads as a deliberate band of material and gives a unit visual weight; thinner stock reads lighter and more transparent. It changes how a part bonds, how it forms, and how many parts nest out of a sheet — which is to say it moves the unit cost. We offer all standard acrylic thicknesses and can source custom acrylic sheet when a project requires it, so the constraint is your engineering, not our stock list. Bring the span, the load, and the look you want, and thickness falls out of that conversation.
Branding methods: durability first, unit economics second
Every branding method on acrylic is durable enough for something and wrong for something else. The two questions that separate them are how the graphic is protected and how the cost behaves as quantity grows.
Direct UV printing is the default for full-color work. UV-cure ink sets instantly under UV light, producing bright, accurate color that resists scratching, abrasion, and fading, and it handles photographic detail and gradients other methods cannot. On clear or colored acrylic, color needs a white layer behind it to stay opaque — printed as a flood or an under-base — which is an additional pass and therefore a real cost factor, not a free option. Color is color-managed CMYK matched to the brand references you supply, confirmed on a proof you approve before the run.
Second-surface printing puts the graphic on the back face of clear acrylic so it is viewed through the sheet. The acrylic itself becomes the scratch protection, and the graphic picks up a glass-like depth first-surface printing cannot reproduce. For a countertop or high-touch unit that gets wiped down daily this is usually the correct specification. It has to be planned in from the start rather than added late: the artwork reverses, the white layer prints last instead of first, and which face is the show face changes.
Screen printing earns its place on long runs of a few solid brand colors. A screen-laid ink film is denser and more opaque than a digital print, which matters on back-lit or colored acrylic, and once the screens exist the per-unit cost at high quantity is hard to beat. It is the wrong method for photographic artwork, gradients, or hairline detail — that is UV’s job — and screen setup is an up-front cost that only amortizes across quantity.
Laser engraving frosts the surface directly and permanently. There is no ink to wear off, which makes it the right method for marks that must outlive the graphics — a logo on a fixture that stays in service across several campaign refreshes, or a mark where printing is not viable. Laser resolves finer type and detail than mechanical engraving, and laser-frosted artwork glows when the panel is lit from the edge.
These combine freely on one unit; the right mix follows quantity, artwork, and where each graphic sits relative to the shopper’s hands.
Finish grade: specify an Inspection Distance, not an adjective
“High quality” is not a specification, and neither is any other adjective a supplier offers you. Finish becomes enforceable when you name a grade and tie it to the distance the piece is viewed from — which is why the sight-line work comes first.
Our Acrylic Quality Standards define three cosmetic grades, each judged at a published Inspection Distance — the distance from which the finished surface is assessed: Production Finish at approximately 4 feet, Display Finish at approximately 2 feet, and Museum Archival Finish at approximately 1 foot. The grade governs the surface: what is acceptable when the piece is read at that distance. That turns a subjective argument after delivery into a criterion both sides agreed to before tooling — and it maps directly onto the sight-line work you already did, because 4 feet is aisle distance and 2 feet is arm’s length.
For most retail programs the honest answer is Production finish. A promotional display that lives on the floor for one season, is read from across the aisle — beyond its 4-foot inspection distance — and is recycled at the end of the campaign should not pay for a grade judged at 2 feet. The standard is candid about what Production tolerates: minor micro-bubbles within adhesive joints and slight variation in flame-polished edges, characteristics visible only during close inspection, which for an aisle-read unit means never. Display finish is the specification for permanent fixtures, countertop units read at arm’s length, and anything that has to still look correct after a long run in service. Museum Archival is for the closest-viewed, highest-scrutiny work and is genuinely rare in retail. Over-specifying finish is one of the most common ways a display program quietly loses margin, because finish grade drives polishing labor, which is real hours per unit — multiplied by every unit in the rollout.
Three other standards govern different things, and keeping them distinct is what makes a spec unambiguous:
- Edges — the Edge Finishing Standards name six defined methods: raw/saw-cut, sanded, laser-cut, flame-polished, buff-polished, and diamond-polished. Specify the method per edge, not per part: a bonding face and a hidden structural edge do not need what a front sight-line edge needs, and paying to polish edges nobody sees is pure cost. The pairings are predictable — Production-grade display work commonly runs sanded or flame-polished edges, Display-grade steps up to buff-polished, and diamond polishing belongs where an edge is itself the visual feature.
- Joints — the Joint Clarity Standards define what a bond line has to look like, so “seamless” becomes a documented criterion rather than a sales word. On a bonded display it is usually the most visible quality signal on the unit.
- Dimensions — the Fabrication Tolerances are defined per process, because a laser-cut part, a routed part, and a thermoformed part do not hold the same range: published bands run from approximately ±1/64 inch on fine laser work out to ±1/8 inch on saw-cut panels, thermoformed parts are held as a proportion of the formed dimension, and a fabricated assembly carries its own band of approximately ±1/16 to ±1/8 inch because it stacks the variation of every component inside it. That assembly band is the number multi-part displays live or die by — it is what makes shelves seat, lids fit, and fifty units stack the same way across a rollout.
The floor date belongs in the spec, not in the cover email
Retail programs run against dates other people set — a reset, a season, a launch. What a fabricator owes you is a clear statement of what kind of commitment you are getting, which is why scheduling is a named tier on the quote. Our Production Scheduling standard defines three:
- Production Schedule — the standard queue. Projects run in sequence with other scheduled work, placed by available fabrication and assembly capacity, with no guaranteed ship date. This is the right and most economical tier when your in-hands date has genuine flex.
- Accelerated Production — moves a project forward in the schedule when available capacity allows. It prioritizes time-sensitive work, and it is also not a guaranteed ship date.
- Reserved Production — allocates dedicated fabrication capacity to guarantee a specific ship date. It is the only tier that guarantees a date.
Plan a retail program by working backwards from the floor date through store-level distribution, transit, and any assembly the store has to do, landing on an in-hands date — then choose the tier that matches how much that date can move. If it cannot move, Reserved is the answer, and it belongs in the program from the start rather than discovered late. If it can move, the standard tier is usually the better use of budget.
Two realities belong in the plan. Some steps compress and some do not — cutting, printing, and finishing can often be pulled in, while solvent bonding and cure times shorten but never disappear. And proof approval sits on your side of the line: artwork waiting on brand sign-off consumes schedule as surely as a machine hour.
Prototype, pilot run, rollout — and what changes at each step
Prototype. One or a few units, built with the same in-house processes the production run will use, so the sample reflects the real build. Its job is to answer questions the drawing cannot: does the shelf deflect under a real load of your product, does the graphic read from the aisle, does the footprint fit the fixture the retailer described. Get product in it and put it in a store if you can. Prototype units carry their full share of setup labor, so per-unit cost here tells you nothing about the rollout.
Pilot run. A limited quantity across a handful of locations. This is where tooling and fixturing get built and paid for: forming tools for any thermoformed part, bonding jigs and assembly fixtures for repeatable build, and programmed cut paths. That investment is what makes units repeat rather than being re-measured by hand each time, and it is where a first article gets approved as the documented reference. The pilot is the last inexpensive moment to change anything.
Full rollout. The locked spec runs at quantity. Sheet yield now dominates the cost structure, tooling amortizes across the run, and the finish grade you specified is applied to every unit — which is when an over-specified finish stops being a rounding error.
Protect the file lock deliberately. When artwork, cut files, and standards callouts are frozen as a reference set at first-article approval, every later unit is measured against that same approved first article — the two-hundredth unit is a repeat of the first, and replenishment becomes a predictable supply line instead of a fresh quote each time. This prototype-to-rollout discipline is how we have run retail display programs for brands like Lacoste and hospitality builds for Marriott: the spec does the remembering, so the program does not depend on anyone’s memory of the first run.
What to bring to a spec conversation
The fastest quote comes from the fewest unknowns: the product and its weight, the footprint the retailer granted, your in-hands date and how firm it is, the quantity and whether reorders are expected. Files help but are not required — PDF is preferred for fabrication, and we also accept DXF and DWG; for artwork, send AI, EPS, SVG, PNG, or JPG. A sketch or a reference photo is a legitimate starting point, and closing the CAD gap is our job.
All of this is fabricated in-house and US-made, which makes all five of those decisions one conversation rather than five vendor handoffs. More on that work on our POP and retail displays page, and finished builds in the gallery.
Have a program to scope? Tell us what you’re launching — the product, the footprint, the date — and we’ll come back with a spec you can hold us to.