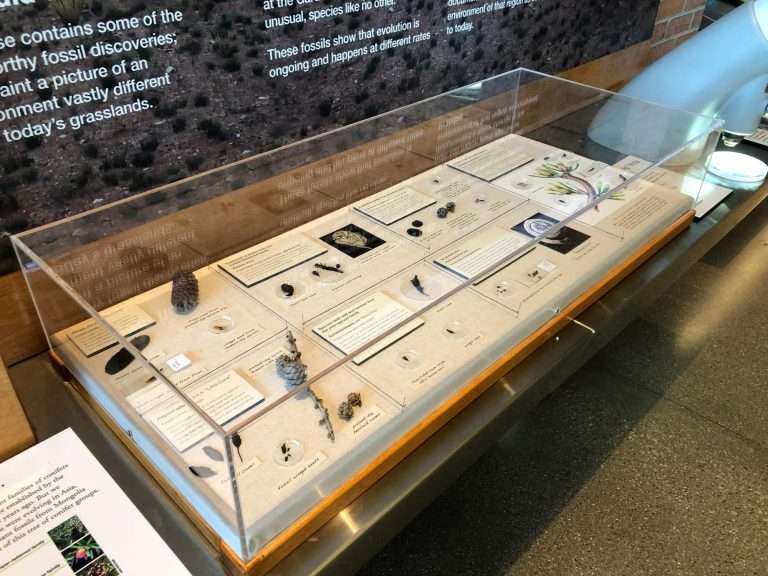
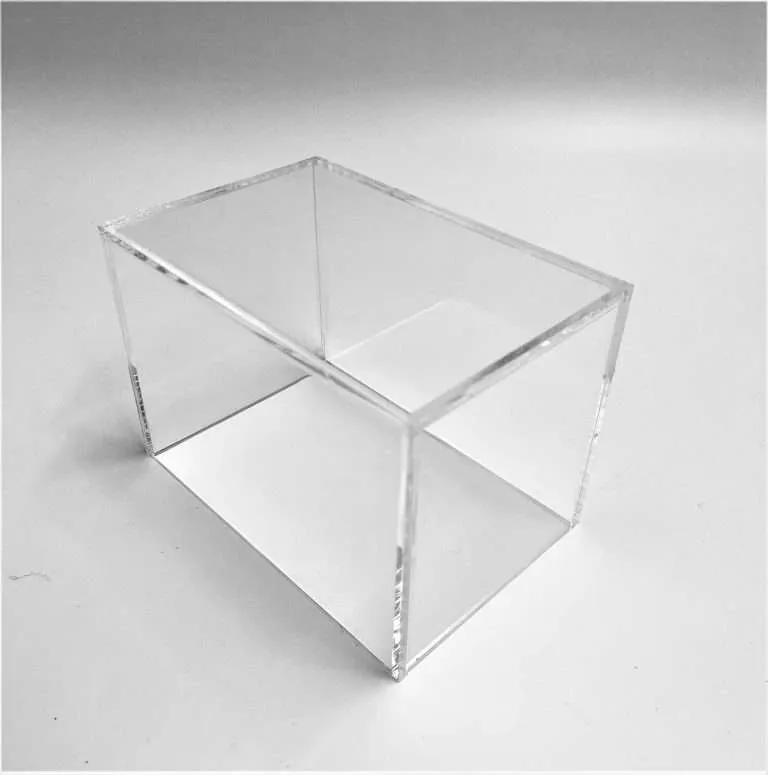
Stand where a visitor stands. A bonded vitrine corner, viewed against gallery lighting, shows exactly what the bonding process left behind: micro-bubbles trapped along the joint line, haze where the solvent worked into the surface, squeeze-out where excess cement escaped the seam. From across the room, none of it reads. From a foot away — the distance a visitor leans in to see the object — all of it can. That difference between viewing distances is precisely what the Acrylic Joint Clarity Standards exist to govern: joint quality defined by what is acceptable at a stated inspection condition, not by adjectives.
Why “invisible seam” is not a spec
Every bonded acrylic joint refracts light. Two pieces of material meeting at a cemented seam will always behave differently from a single continuous sheet — the question a specification can actually answer is not whether the joint exists but what it is allowed to show, and from where. “Invisible” has no inspection condition attached, so two fabricators reading the same word will price two different jobs, and the registrar who wrote it has no basis for rejecting the seam that arrives. A graded joint specification does the opposite: it names the characteristics, names the viewing condition, and turns both bidding and acceptance into comparisons against the same reference.
The grading logic follows the same inspection-distance principle as the Acrylic Quality Standards. At Production Finish — inspected at approximately 4 feet — the published standard accepts “minor micro-bubbles within adhesive joints.” Display Finish, inspected at approximately 2 feet, lists improved joint clarity among its typical characteristics. Museum Archival Finish, inspected at approximately 1 foot, is written to include extremely high joint clarity — the level intended for casework a visitor examines up close. The closer the piece will be viewed, the tighter the joint standard that applies.
The process levers behind a higher grade
A specifier never manages fabrication process, but knowing the levers exist explains why joint grade moves lead time and cost factors. Three of them do most of the work:
- Edge preparation. The mating surfaces decide the joint before any cement touches them. Preparation follows the sheet manufacturer’s fabrication requirements — including scuff-sanding mating edges before bonding — because the cement can only be as clean as the surfaces it joins.
- Solvent choice and application. Different cements and application methods trade working time against clarity and bubble behavior; the higher the grade, the less forgiving the window.
- Cure control. A joint continues changing after assembly. Controlled curing is part of why a top-grade seam takes schedule, not just skill.
None of this is the buyer’s problem to direct — it is the reason a Museum Archival joint is a different piece of work from a Production joint, and prices and schedules accordingly.
Grade by sightline, not by case
The professional pattern is to grade joints individually, by where they sit in the visitor’s view. The front sight-line corners — the two verticals a visitor faces, lit by the gallery — carry the top grade specified for the case. Rear corners, base joints, and seams concealed by the deck or the mount can run one grade down without any visitor ever knowing. A vitrine specified this way reads flawless where it is looked at and spends nothing where it isn’t — the same inspection-distance logic the finish grades use, applied joint by joint. A specification that simply says “all joints, highest grade” is paying Museum Archival attention to a corner that faces the wall.
The acceptance protocol
Here is what the standard buys at the loading dock. The purchase order cites the Joint Clarity standard, names which joints carry which grade, and states the inspection condition. At delivery, the registrar inspects the named joints at the agreed condition — the stated distance, normal lighting — and the case either conforms or it doesn’t. No negotiation over whether a seam is “good enough,” no photographs emailed back and forth with arrows on them. With the reference named in writing on both sides, acceptance takes minutes, and so does resolving the rare case that fails it.
Specifying a vitrine this way costs one paragraph in the PO. Bring the sightline plan and the grades to the quote, and the seam you see in the gallery is the one you specified — at the distance you specified it from.