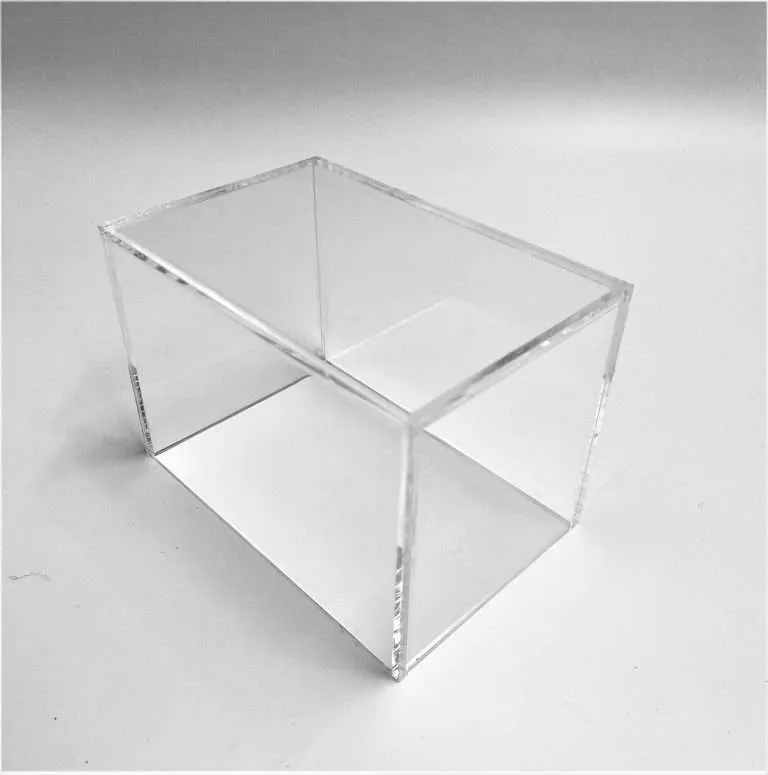
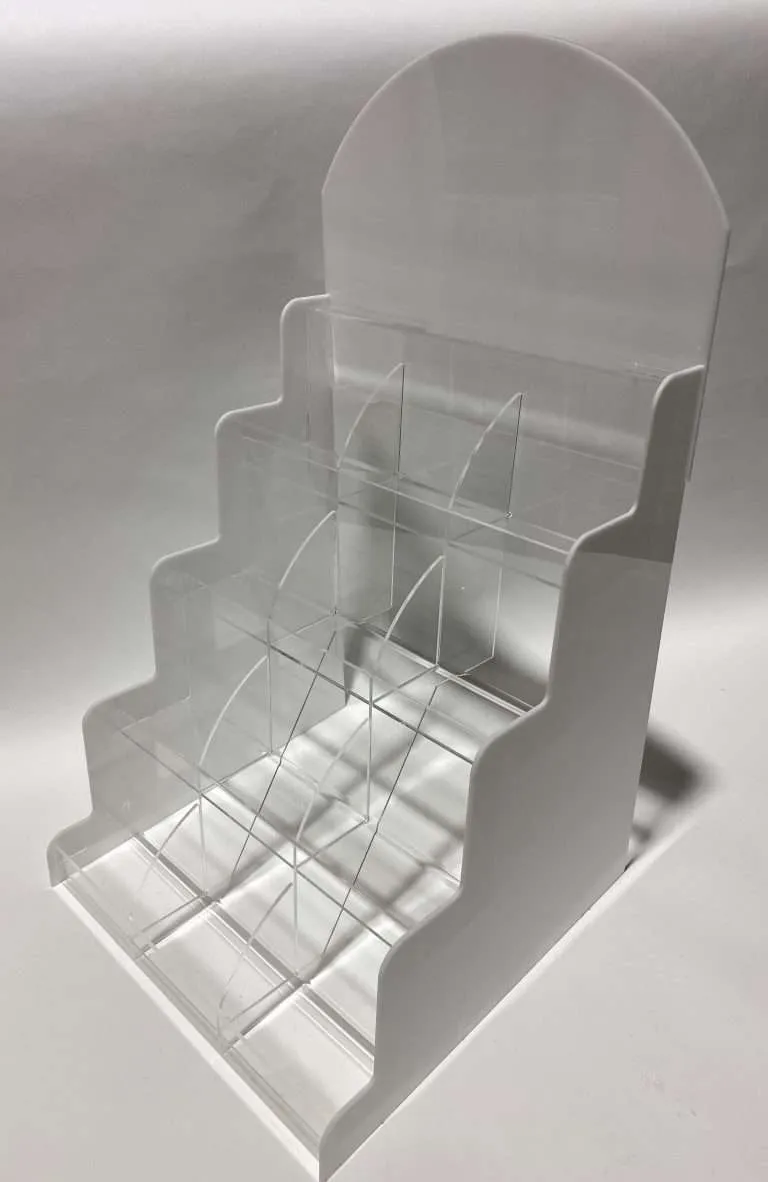
Transparent machine guards sit at an unusual intersection: they are safety equipment, which makes them regulated; they are fabricated plastic parts, which makes them designable; and they are the thing an operator looks through for an entire shift, which makes them ergonomic equipment whether anyone planned that or not. Most of what ranks for this topic is distributor content about sheet goods. This is a fabrication design guide — for the engineer who has to turn “guard that machine” into a drawing a shop can build precisely.
The requirement itself, at 1910.212(a)(1), reads: “One or more methods of machine guarding shall be provided to protect the operator and other employees in the machine area from hazards such as those created by point of operation, ingoing nip points, rotating parts, flying chips and sparks. Examples of guarding methods are— barrier guards, two-hand tripping devices, electronic safety devices, etc.” Note what it does and does not say: it requires that guarding be provided and names the hazards, and it leaves the choice of method, material and geometry to the employer — which is exactly where a fabricator’s drawing review begins and ends.
First, the role split — stated plainly
The regulatory driver behind most guard projects is OSHA’s general machine-guarding requirement at 29 CFR 1910.212. Read the regulation itself rather than any fabricator’s summary of it — this post deliberately isn’t one. The division of responsibility on a guard project is: the employer and its safety engineering own the guarding decision and its adequacy — what gets guarded, against which hazards, to what standard, with what interlocks; the fabricator’s job is executing the specified guard precisely — the right material cut to the right geometry, holding the drawing’s dimensions, delivered ready to mount. We fabricate to your specification; we do not certify guarding adequacy. Everything below is design help for the physical part, offered in that spirit: engineering defaults you confirm, never rules imposed on your application.
Material selection: two defaults and the trade-offs between them
Transparent guarding almost always means polycarbonate or acrylic, and the practical engineering defaults run:
Polycarbonate where impact is the hazard. When the guard exists to stop ejected parts, broken tooling, or anything energetic, polycarbonate is the common default — its impact resistance is dramatically higher than acrylic’s, which is the property the application is buying. Its trades are just as real: it scratches and hazes more readily than acrylic under shop wiping and abrasive dust, and some coolants, oils, and cleaning chemistry attack it — chemical compatibility against the machine’s actual fluids belongs on the checklist, from the manufacturers’ compatibility data, before the material line is written.
Cast acrylic where visibility dominates and impact loads are low. Acrylic holds its optical clarity better over years of cleaning, resists scratching better, stands up well to many shop chemistries that trouble polycarbonate, and machines beautifully — crisp mounting features, clean edges, polished finishes. For enclosures around low-energy hazards, splash shields, and covers where the “impact” is a bumped elbow, acrylic’s daily-life advantages often win.
Both materials appear across our guard work for exactly these reasons — the honest answer is that the hazard picks the material, and the customer’s engineering confirms it. (The deeper acrylic-vs-polycarbonate comparison is its own post, worth reading before any transparent-panel decision.)
Thickness: span drives it as much as impact does
Engineers usually think of guard thickness as an impact question, but on real guards the governing case is often stiffness: a large unsupported panel deflects under incidental loads — leaning, bumping, vibration — long before anything is ejected at it, and a guard that visibly flexes invites nobody’s confidence. Two design levers follow:
- Unsupported span sets the stiffness demand. The bigger the free panel area, the thicker the sheet must be to feel and behave solid — independent of the hazard analysis.
- Framing and stiffeners let thinner panels work. Breaking a large guard into framed panels, or adding bent flanges and stiffening ribs, controls deflection structurally instead of buying it with sheet thickness — often the lighter, cheaper, and easier-to-handle design, and formed-flange construction is standard fabrication work.
Impact-rated thickness for a specific hazard remains the customer’s engineering call (energy, distance, and the plant’s own standards decide it); the span logic above is the part the fabricator can help design, and the part most guard drawings underthink.
Mounting and serviceability: what separates a good guard drawing
Guards live on machines that vibrate, heat up, and get serviced — and the details below are the difference between a guard that survives that life and one that cracks at its bolt holes in a year:
- Slotted holes, not tight holes. Plastic panels move with temperature; a panel bolted rigidly through tight round holes fights that movement at every fastener. Slots sized for the movement, with washers spreading the clamp load, are the standard detail.
- Hole edge distances. Holes placed tight to a panel edge concentrate stress where brittle materials least want it. Give every mounting hole generous edge distance on the drawing — it is free at design time and unfixable after.
- Removable vs fixed panels, decided per panel. Fixed panels bolt on; access panels earn hinges and latches. Locate hinge and latch hardware where a maintenance tech with a tool actually reaches, and where the open panel doesn’t collide with the machine — swing paths belong on the drawing.
- Interlock-switch cutouts, located by the drawing — logic owned by the customer. Where an access panel carries an interlock, the fabricated part needs accurately placed cutouts and mounting features for the switch hardware. We machine those precisely to your drawing; the interlock selection and control logic stay with your controls engineering, where they belong.
All of this is ordinary CNC and forming work held to published ranges — see the Fabrication Tolerances standard for the dimensional bands by process — which is exactly why a well-detailed guard drawing comes back as a well-fitting guard.
Sightlines: clarity where the operator’s eyes actually are
The most-used part of a guard is the few square inches an operator looks through hundreds of times a shift, and that zone deserves specification, not luck. Three practical notes. First, glare: shop lighting reflecting off a flat panel can wash out the sightline; small panel angles or repositioned local lighting fix what material choice cannot. Second, tints: light tinting can tame glare and mark the guard’s presence, at the price of light transmission — a choice to make with the operators, not for them. Third — and this is the specifiable one — optical quality at the working sightline can be written in measurable terms instead of adjectives: our Inspection Distance vocabulary lets a drawing hold the sightline zone to a defined finish grade judged at the operator’s actual working distance, while the rest of the guard carries Production Finish. Grade where the eyes are; economy everywhere else.
From marked-up photo to finished guard
The workflow, for the common case where what exists is a machine and a problem rather than a drawing: measurements and photos — or the cracked original guard shipped to us — become a dimensioned drawing for your approval; approved drawings become CNC-cut, machined, formed and finished panels with their mounting features in the right places; and the drawing on file makes every future replacement a reorder instead of a project. Plants run fleets of guards, and fleets reward exactly that discipline. When the next guard on your list is a replacement, a retrofit, or a from-scratch design, send the photos and the spec — precise execution of it is the part we own.