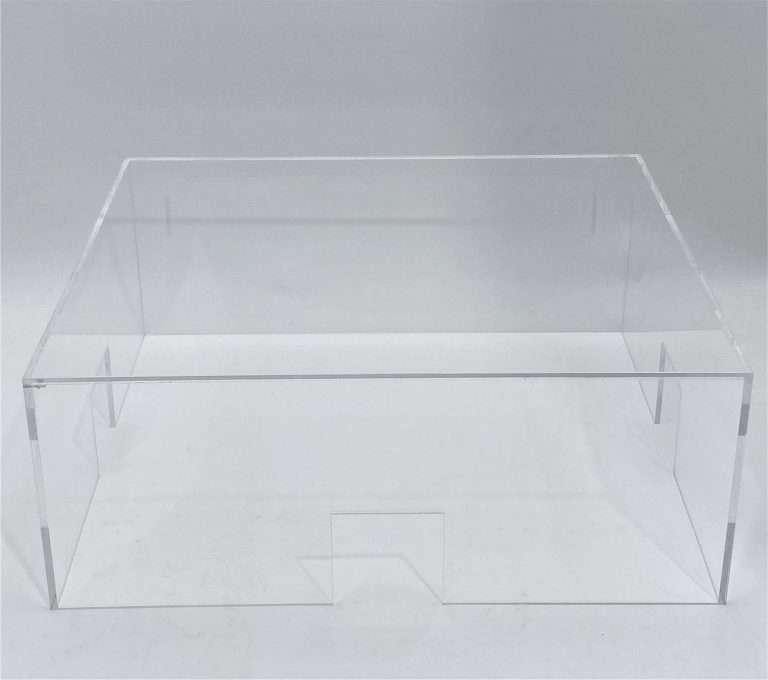
Flame polishing has a reputation problem in both directions. Buyers who have seen it done well think it’s magic — a torch pass and a saw-cut edge turns glossy. Buyers who have seen it done wrong, or specified where it didn’t belong, think it’s a shortcut. Both are missing the same thing: flame polishing is a legitimate method with a defined place in the Acrylic Edge Finishing Standards — one of the six published methods, alongside raw, sanded, laser-cut, buff-polished, and diamond-polished edges — and like every method in that standard, it comes with a boundary. Knowing the boundary is knowing the method.
What flame polishing genuinely does well
Flame polishing uses controlled heat to melt the outer surface of an acrylic edge, re-flowing it into a clear, glossy finish. On straight sight edges it is fast and economical — which is why the published standard pairs it with everyday commercial work: retail displays, general fabrication, display fixtures. The standard’s own framing is exact: flame polishing produces a visually clean edge suitable for many applications where optical perfection is not required. For a Production Finish piece inspected at approximately 4 feet, a flame-polished edge is very often the economically correct answer, and specifying something costlier buys nothing a shopper will see.
The hard incompatibility: edges that will be bonded
Here is the limit that matters most and gets violated most. Melting an edge for clarity leaves fresh stress in the surface — fine, on an edge that stays dry. But when a flame-polished edge later meets solvent cement, aggressive cleaner, or paint, that stressed surface is exactly where crazing starts: the fine web of micro-cracks that turns a clear edge cloudy and compromised. The rule is simple and absolute in practice: never flame-polish an edge that will be bonded. Sequence the work so bonding comes first, or choose a different polish method for that edge. (The same stress-plus-chemistry recipe applies to cleaning — which is why fabricated acrylic has its own cleaning and care protocol rather than whatever spray is under the counter.)
The geometry limits
Flame follows the torch, and the torch follows the edge — imperfectly, on anything intricate. Crisp corners can round as they melt, and detailed profiles heat unevenly, polishing more where the flame lingers. And because the method re-flows the surface rather than machining it, it cannot produce the optically flat face that diamond polishing achieves. The published standard encodes this in its finish-level pairings: Production Finish projects may commonly use flame-polished or sanded edges, Display Finish projects may incorporate buff-polished edges, and Museum Archival Finish projects often require diamond-polished edges. At a close inspection distance — per the Acrylic Quality Standards, Display Finish is inspected at approximately 2 feet and Museum Archival at approximately 1 foot — the difference between a flame-polished and a diamond-polished edge is visible, and the spec should say which one it means.
Thickness changes the answer
Thickness is the variable most edge specs forget, and it decides more than the inspection distance does. On thin acrylic — 1/8 inch, say — diamond polishing adds little over a flame-polished edge: there is not enough edge face for the difference to show, and flame is faster and more economical. On thick acrylic — 2 inches, say — the edge is a face in its own right, and diamond or buff polishing gives a cleaner edge than flame typically does. Our people can flame-polish any edge the material allows; the method we recommend follows what the customer intends the edge to do, and the thickness on the drawing is half of that answer.
The material limit
Flame polishing is an acrylic technique: it works because of how acrylic melts and re-flows under controlled heat. It is only for materials that allow it — it is not used on polycarbonate, or on other materials where it doesn’t work, and edge treatment there follows different methods. It is one more reason the material decision and the finish spec are connected: choosing the material is also choosing which edge finishes are on the menu.
The spec advice: name the method, per edge
The drawing habit that prevents every problem above is naming the edge method edge by edge, rather than writing one finish word for the whole part. Where a flame-polished edge meets the acceptance grade at the piece’s real inspection distance, it is the economical right answer and the drawing should say so without embarrassment. Where the edge will be bonded, is intricate, sits at a close inspection distance on a visible face, or is thick enough to be a face in its own right, the drawing should say sanded, buff, or diamond explicitly. Per-edge callouts cost one line each and make the quote, the fabrication plan, and the acceptance check all agree before the torch is ever lit.
Unsure which edges on your part deserve which method? That is a two-minute markup conversation on the drawing — send it over and the edge plan comes back with the quote.