“How does it mount?” is one of the most common questions behind sign RFQs — and the least standardized answer in the building. The method that is perfect for a lobby wall is wrong for a leased office, and the one that is right for a light panel fails a heavy one. Here are the eight methods that cover nearly every acrylic sign, each with the situation it wins, the situation that disqualifies it, and the one detail the fabricator needs to know at quote time — because mounting is a fabrication decision, not an installation afterthought.
The eight, ranked by situation
1. Standoffs — the presentation wall
Wins: lobby signs, donor walls, brand walls — anywhere the sign should float off the surface with visible, deliberate hardware. Disqualifier: walls that can’t be drilled, and tenants who can’t leave holes behind. The fabricator needs: the hole pattern — standoff holes are drilled oversize in a specific layout before the sign ships, which is exactly the kind of feature the Fabrication Tolerances standard exists to pin down. The full treatment, including hardware families and edge-distance discipline, is in standoff mounting systems.
2. French cleat — the big panel that comes down
Wins: large panels that need secure, flush mounting and tool-free removal — changeable art walls, panels that get cleaned behind, signs that move when departments do. The sign hangs on an interlocking rail, invisible from the front. Disqualifier: very light signs (overkill) and walls too irregular for a rail. The fabricator needs: the cleat allowance — the panel’s back must be built for the rail’s thickness, so the decision has to precede fabrication.
3. High-bond foam tape (the VHB class) — the clean wall, the light panel
Wins: smooth, sound walls and lighter panels where no visible hardware and no drilling are the brief. Disqualifier: weight and surface. Tape systems carry real limits that scale with panel size and thickness — use the tape manufacturer’s published ratings, not optimism, and when a panel exceeds them the failure mode is the sign on the floor, usually at night, usually taking paint with it. Textured, dusty or freshly painted walls disqualify it too. The fabricator needs: to know the back is a bonding surface — masking strategy and back finish change when the back of the sign is structural.
4. Stud mounting — dimensional identity
Wins: dimensional letters and logos — threaded studs bonded or set into the back of each element, pinned into the wall on a template. The result reads as letters growing out of the architecture. Disqualifier: anything that needs to come down often; stud mounting is semi-permanent by design. The fabricator needs: the stud pattern and the install template requirement up front — every letter’s studs are placed during fabrication. Letters and logo work are their own discipline; see dimensional letters and logo fabrication.
5. Rail and track systems — the changeable insert
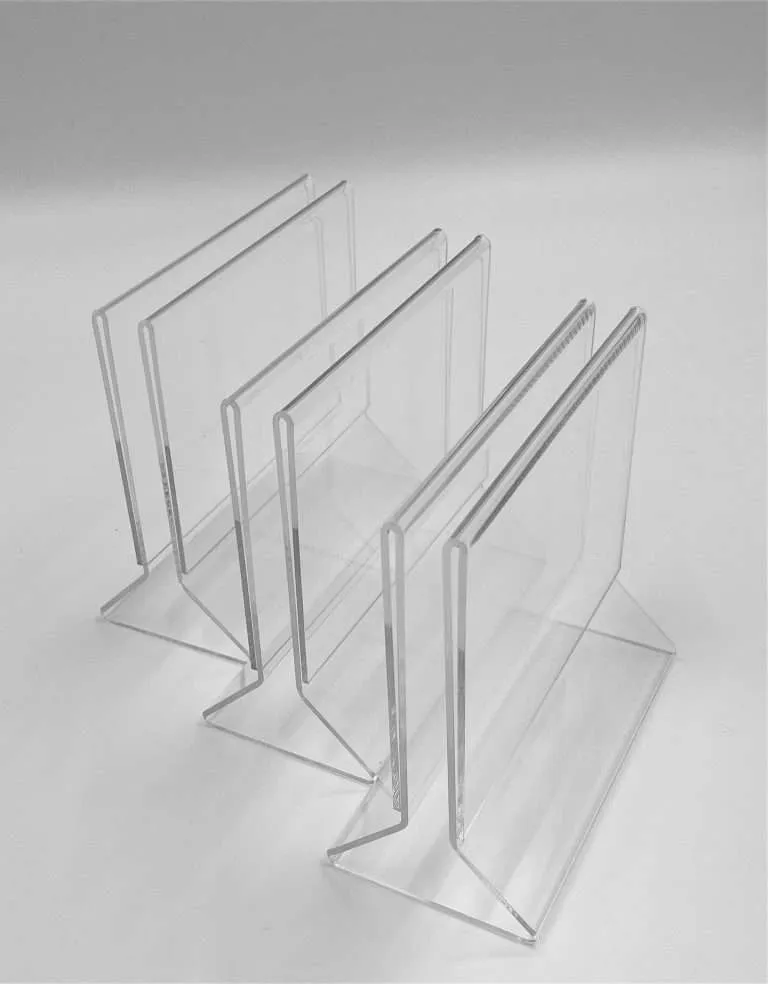
Wins: directories, menu systems, compliance displays — anything where the frame stays and the content changes. The acrylic rides in extrusions or tracks, swapped in seconds by whoever runs the building. Disqualifier: one-off permanent signs, where the hardware is cost without benefit. The fabricator needs: the track’s panel-thickness window and clearance spec, because the insert is cut to the system, not to the wall.
6. Flush screws with caps — the utility workhorse
Wins: back-of-house, exteriors, high-traffic and high-abuse locations — screws through the panel into the substrate, dressed with caps. Honest, strong, serviceable. Disqualifier: presentation settings where visible fasteners read as cheap. The fabricator needs: hole locations and counterbore details on the drawing — holes in acrylic are drilled oversize with real edge distances, decided at fabrication, never field-drilled into a finished sign.
7. Cable and rod suspension — the glass storefront
Wins: storefront windows, ceilings, and open spaces with no wall at all — panels hung on tensioned cables or rods, often double-sided. Disqualifier: anywhere the sign can be pushed, swung or stolen; a suspended sign is a pendulum. The fabricator needs: grip or hole positions, panel orientation, and whether the panel is read from both sides — which changes the print and finish spec, not just the hanging.
8. Freestanding bases — no wall required
Wins: counters, events, retail floors, and every situation where the architecture offers nothing to mount to. The base is part of the sign. Disqualifier: tight footprints and tip-over-prone environments — a freestanding sign’s stability is a design property, engineered before style. The fabricator needs: the whole use case, because base geometry, weight and height are designed together.
Removability is a first-class criterion
Much of sign mounting is really a lease question. Tenants who will someday hand back the wall should rank the eight on make-good friendliness: freestanding bases leave nothing behind; cleats and track systems concentrate their fasteners in one short rail — the sign itself comes down tool-free and undamaged, and a rail’s few holes patch far more easily than a sign-sized standoff pattern; tape leaves adhesive residue and sometimes finish damage; screws, studs and standoffs leave a hole pattern the size of the sign. Choosing the make-good-friendly method up front is cheaper than patching and repainting at move-out — and it is a decision the fabricator can only support if it is made before the parts are built.
The two-question chooser
What’s the wall? Drillable and yours → standoffs, studs, screws. Drillable but due back at lease end → cleat or track, whose few rail holes are the easy patch. Not drillable → tape (within its published limits) or freestanding. Not there at all → suspension or freestanding.
Will it ever come down? Never → studs, screws, standoffs. Sometimes → cleat. Constantly → track inserts or freestanding.
Two answers shortlist the method, and the method writes the fabrication spec: hole patterns, back finish, thickness, hardware. That is why the mounting conversation belongs in the RFQ, next to size and finish — the broader specification walkthrough is in the lobby sign specification guide, the mistakes it prevents are catalogued in mistakes specifying lobby signs, and the full signage landscape lives in the acrylic signage guide.