Plenty of drawings say “laser cut” the way they say “deburr” — as a gesture. But a laser edge on acrylic is a specific, repeatable thing: a defined geometry, a characteristic surface, and a thermal history that matters weeks after the part ships. Specifiers who know what the beam actually leaves behind get to use the laser edge for what it is — a legitimate finished edge, named in the Edge Finishing Standards — and to call for something else where it falls short.
Anatomy of a laser cut
The laser removes a thin line of material — the kerf — along the cut path. Three features of the resulting edge are worth knowing at the drawing stage:
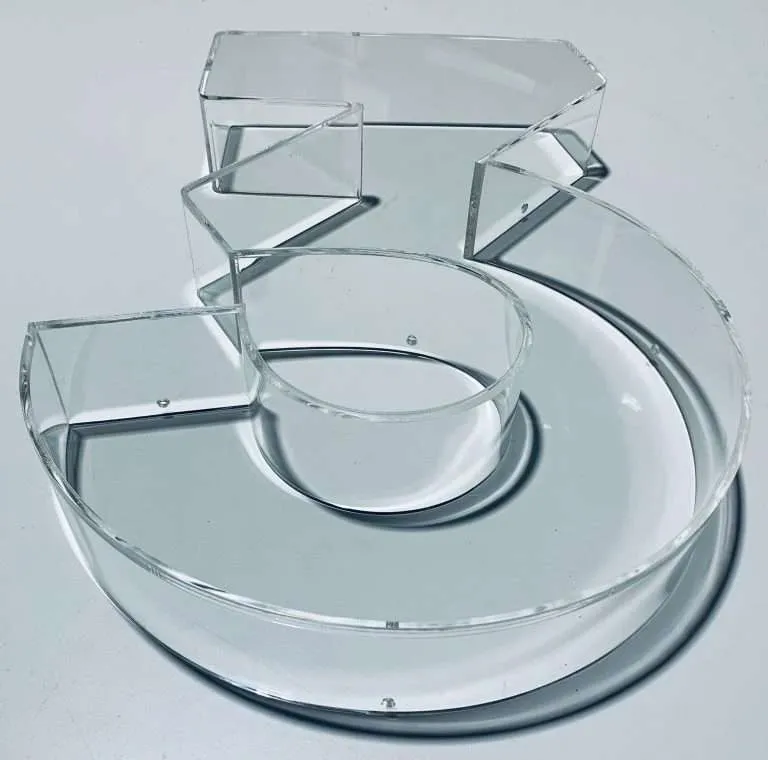
- The gloss. The process finishes the edge as it cuts: the cut face typically comes off the machine smooth and glossy, which is why a laser edge can go straight into a finished part with no secondary operation. Under raking light a laser edge can show fine, near-vertical striations — the signature of the moving beam — least visible on thin material.
- The taper. The kerf is not perfectly square through the sheet; the edge carries a slight taper that depends on thickness. On thin parts it is close to invisible. On thick sections it becomes something an assembly has to account for — one reason mating features and press-fits are specified with the cutting method in mind, per the Fabrication Tolerances standard, and why kerf and radius behavior gets its own treatment in radius and kerf allowances.
- The heat. A laser edge is a thermal edge. That is what produces the gloss — and it is also the part of the story most specifiers never hear, covered below.
Why acrylic lasers beautifully when many plastics don’t
Acrylic is the material the laser loves. Under the beam it parts cleanly, leaving that self-finished glossy face instead of a melted, charred, or discolored one. Many plastics are not so cooperative — polycarbonate is the famous counterexample, and the reason a laser edge on acrylic is a finished edge while “laser-cut polycarbonate” isn’t a thing a reputable shop offers is laid out in why polycarbonate is not laser-cut. This difference is one of the quiet reasons material selection and process selection are the same conversation.
The stress story: what the heat leaves behind
The same heat that polishes the edge leaves a thin heat-affected zone carrying residual stress. It is invisible — the part looks perfect, measures perfect, ships perfect. Then a solvent touches the edge: an aggressive cleaner, a solvent cement during a later bonding operation, sometimes just the wrong adhesive in the field. Stressed acrylic plus solvent is the recipe for crazing — networks of fine surface cracks that bloom exactly where the stress lives. The mechanism, and the cleaners that trigger it, are the subject of crazing: causes and prevention.
This is why annealing is specified before solvent bonding. Annealing — a controlled heat soak and slow cool — relaxes the stress the laser left behind, so a later bonded joint doesn’t become a crazing map of the cut path. When a laser-cut part is headed for solvent bonding, annealing belongs in the process plan, not in the post-mortem. Annealing explained covers when it earns its place.
Thickness changes the answer
The laser edge’s character depends on thickness: the taper and the surface texture show more of the process as sections get thick, and the edge near the bottom of a thick cut shows more of it than the edge near the top. Laser cutting is at its best on thinner acrylic — that is where the edge quality that makes it a legitimate finished edge actually holds. As sections get thick, two things happen to the specification: the taper starts to matter structurally, and the visual bar for an exposed edge usually rises past what the beam delivers. At that point the job moves to CNC cutting followed by a polishing method — the machining-versus-beam decision in full is CNC vs laser cutting.
There is no universal cutoff thickness, because the answer depends on what the edge has to do: an edge inside an assembly tolerates what a showcase edge cannot. State the duty, and the process follows.
Specifying against it, by name
The Edge Finishing Standards define six named methods, from Raw/Saw-Cut through Diamond-Polished — and Laser-Cut Edges is one of them. That gives a drawing two clean moves:
- Where the as-lasered edge is acceptable — signage faces, thin components, decorative elements, concealed edges that just need to be clean — call it by name: a laser-cut edge per the standard. You get the process’s native finish at the process’s native cost, and everyone knows what “done” looks like.
- Where it isn’t — thick exposed edges, optical sightlines, surfaces a customer will read at close range — specify the polishing method instead, by its name from the same ladder, and let the shop route the part accordingly.
What kills edge budgets is the blanket callout: “polish all edges” on a part where half the edges are captured in an assembly nobody will ever see. Grade edges by exposure, name the method per edge class, and the laser does what it does best on the edges where that is already enough.